Entry Scanning
Entry scanning is the fundamental function of the See Tickets box office as each ticket will be scanned to verify that it is valid (that there is an active order, it is not a duplicate ticket, the order has not been refunded, etc.).
Follow the steps below in order to properly scan attendees into your event.
Navigating to the Entry Screen
Navigate to your client dashboard. To scan for all events on your client account, select Box Office Sales from the left side Box Office Menu.
You can also scan for a specific event by selecting the Box Office quick link.

Scanning Tickets
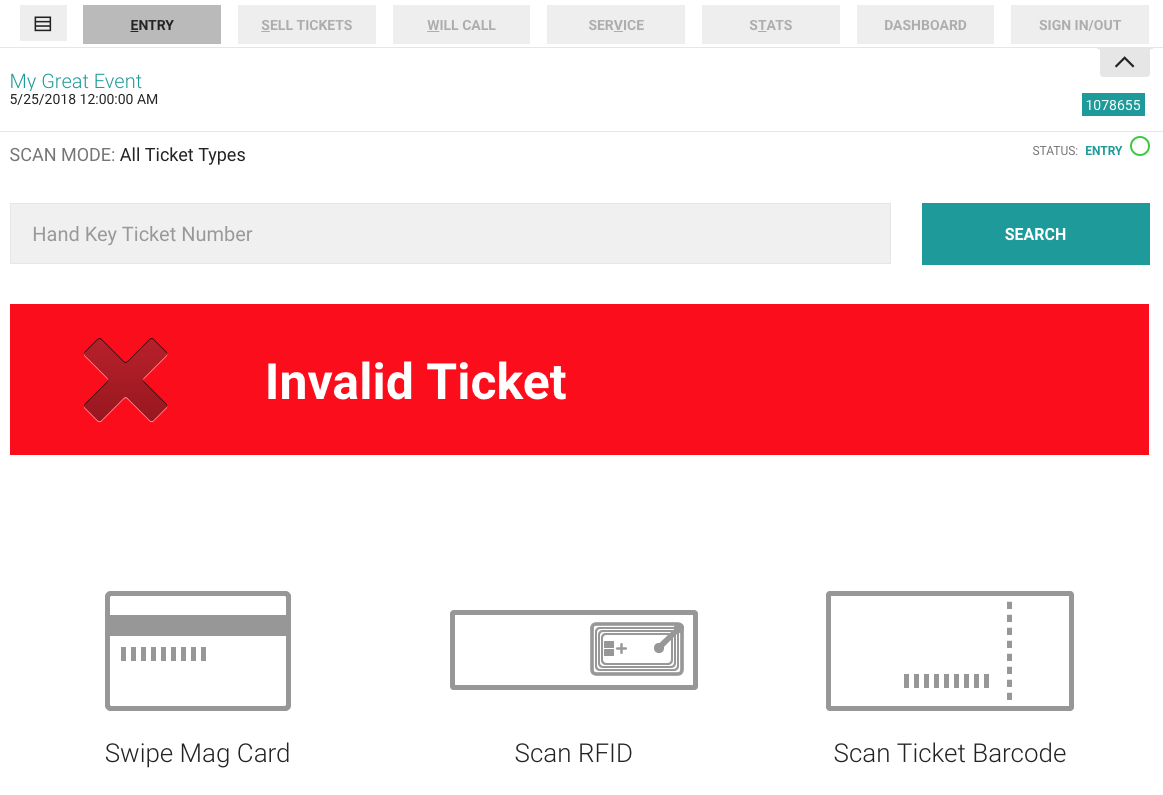
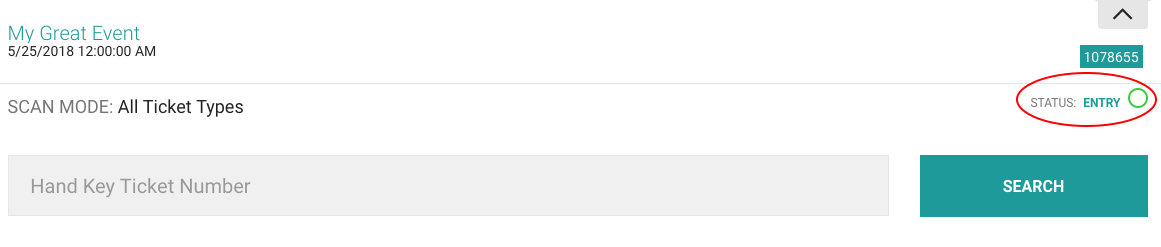
After opening the Box Office, you should land on the Entry screen. Make sure the Entry tab is selected.
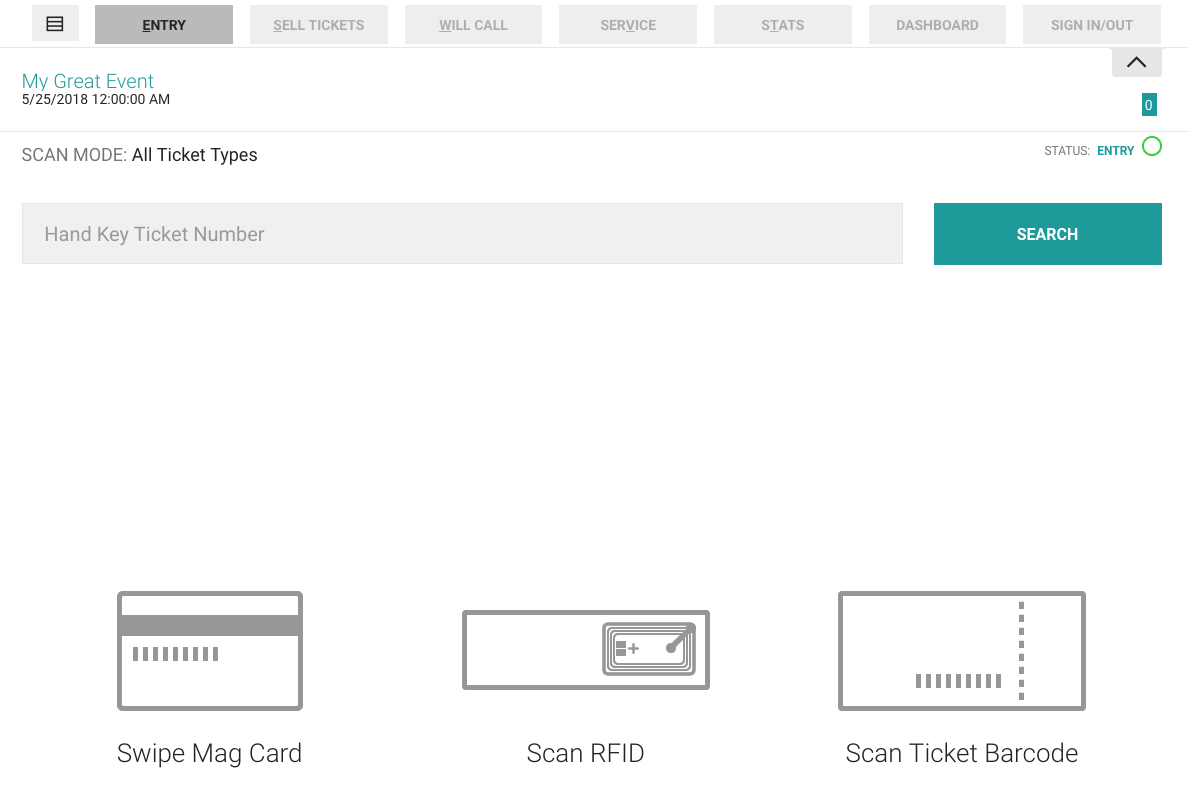
Pass the barcode on the ticket under the scanner. You can also manually enter the ticket number by typing it into the hand key field. After scanning the ticket, you will see one of the following messages:
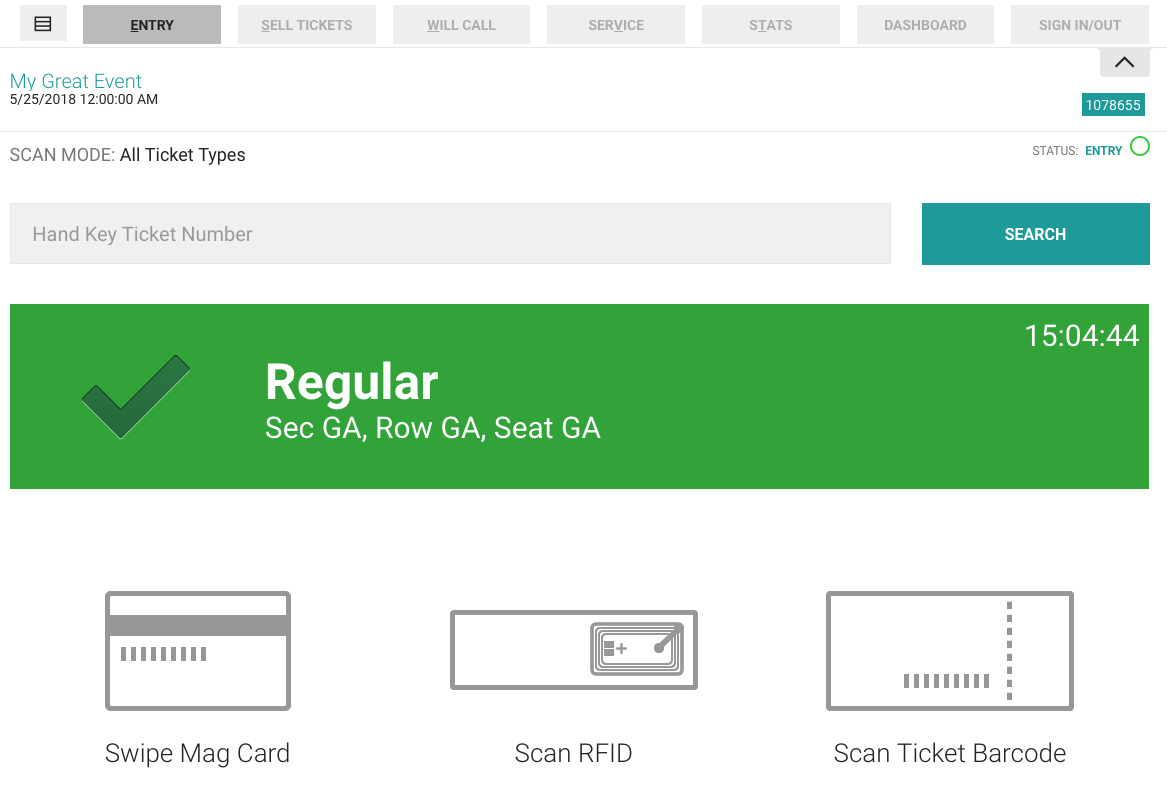
Good Scan
If the ticket is valid, you will see a green banner.
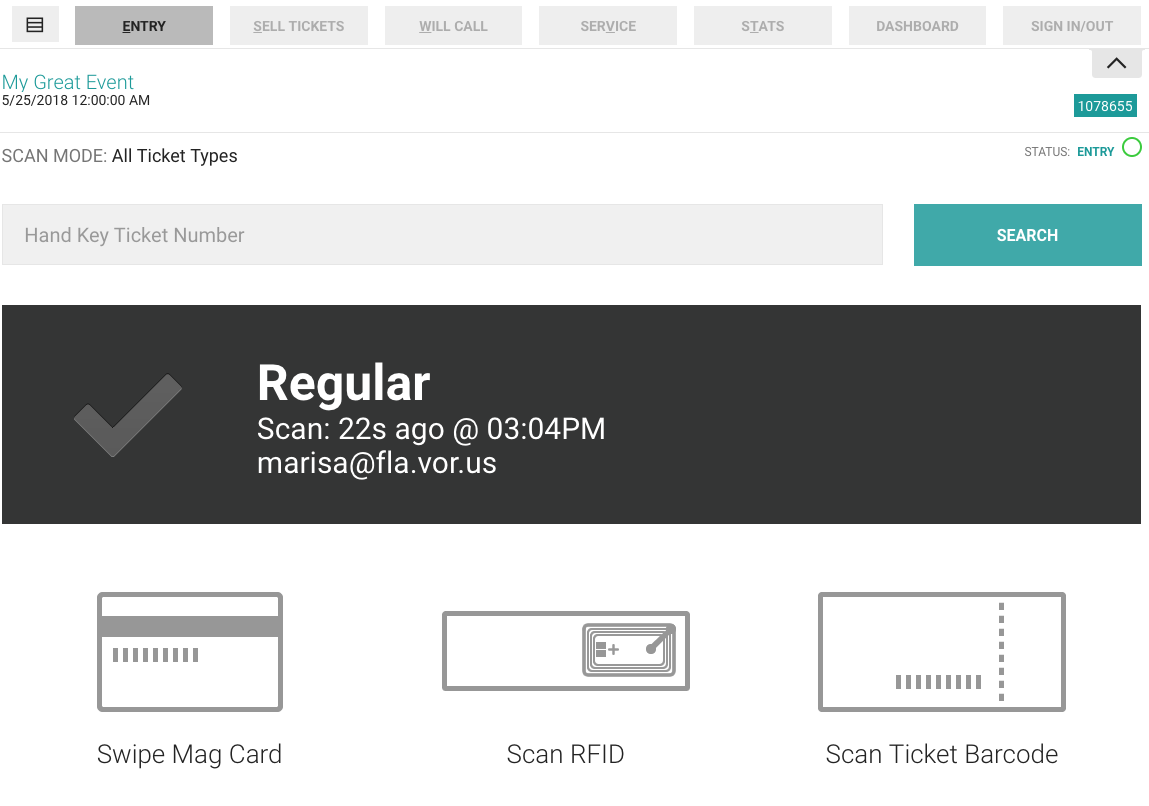
Duplicate Scan
If the ticket has already been scanned, you will see a grey bar that shows you when the ticket was last scanned and which login was used to scan. In this case, this ticket was scanned 22 seconds ago. This prevents customers from handling off their scanned ticket to another customer without a ticket.
Bad Scan
If the ticket is fake or invalid for the event, you will see a red banner. This means the ticket wasn't properly activated or is a fraudulent ticket.
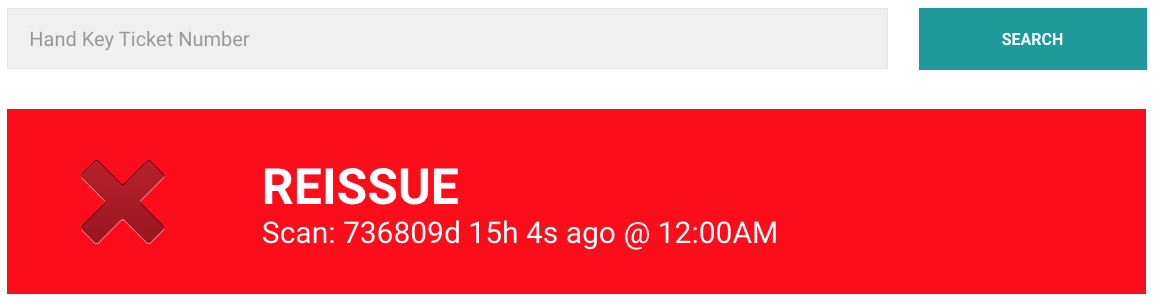
In the event of a customer reporting a lost or stolen ticket, the red banner will say Reissue. This means the customer has contacted See Tickets and that ticket has been cancelled and a new one has been issued. Either they are using a cancelled ticket or they bought a ticket from someone who cancelled their ticket and picked up a new one the day of the show.
Additional Ticket Scanning Options
Depending on how you set up your ticketing, you may want to use another method of scanning. You can find the options by clicking on the Entry settings option.
A popup will appear with entry screen settings:
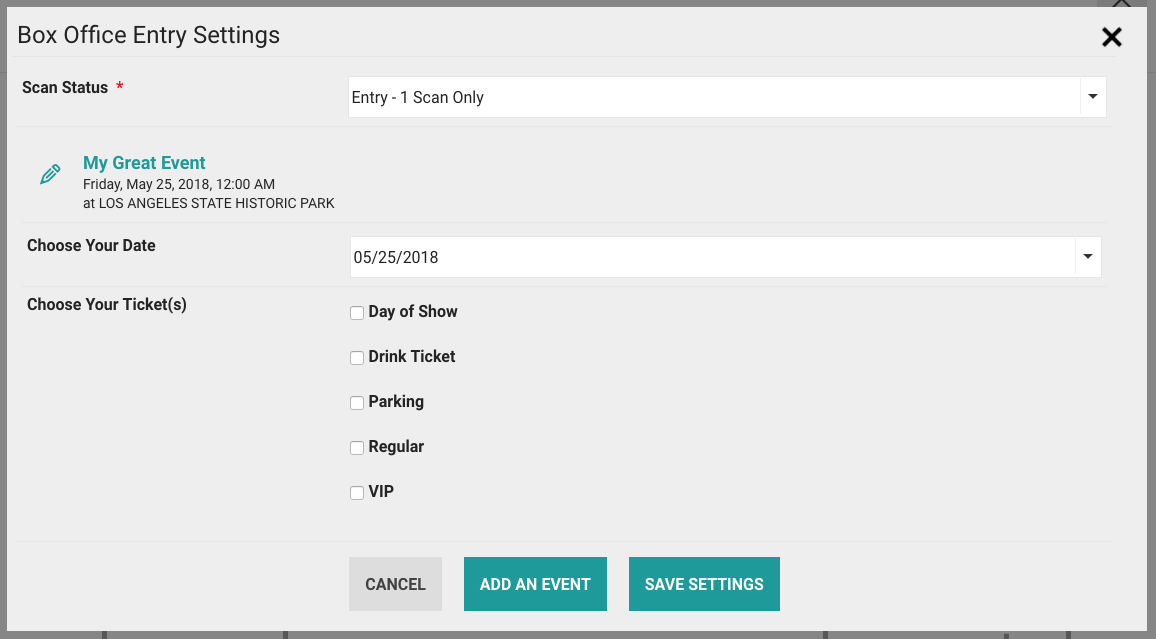
Scan Status
Under the Scan Status option, you can select what type of scanning you want to do. Choose from the following:- Entry - 1 Scan Only: this is the default setting, enabling a single scan per day/per ticket. If your ticket is set up to be good for multiple scans per day you would see Entry - 2 Scan Only and so on
- Scan In: if your event is set up to scan tickets for entry and departure, you can select this station as a Scan In station
- Scan Out: used to scan a customer's ticket out, usually used near an exit; you must have this ticket type set up to use this option and if you plan on scanning the customer's ticket for re-entry, you must scan the ticket out to reset the data in the ticket
- Verify Ticket: this allows you to check the validity of a ticket without activating the ticket for entry
Date
For pass events, choose which date you want to scan for.Ticket Type
If you have a dedicated scan line for an attraction or entry area, for example: a VIP scan line, you can select the ticket types you want to be scannable at that specific station. Simply select the checkbox next to the ticket type.